Irrigation system installation might sound complicated, but it’s actually an easy process when you know the steps. If you’re tired of dragging hoses or forgetting to water your garden, installing an irrigation system can be a game changer. In this guide, we’ll explain everything you need to know about irrigation system installation, how it can save you time, and why it’s great for your plants.
What Is Irrigation System Installation?
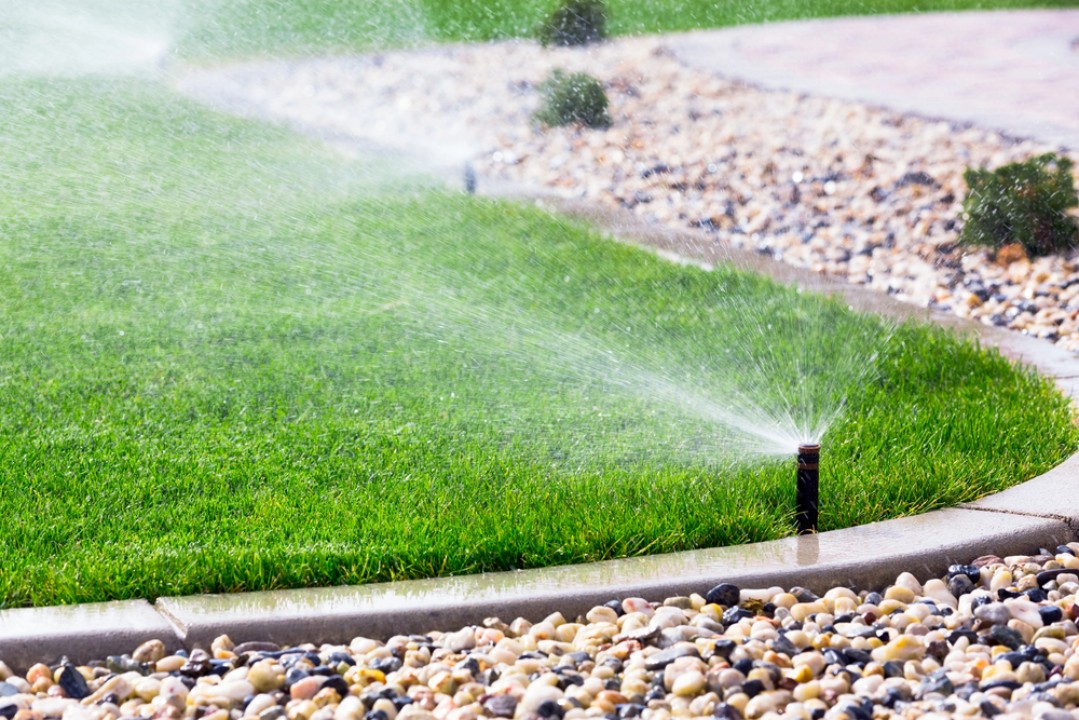
Irrigation system installation means setting up a watering system for your garden or yard that automatically delivers the right amount of water. This includes sprinklers or drip irrigation lines that can cover your lawn, garden beds, or plants. By following the proper irrigation system installation steps, you can make sure your plants get watered efficiently, without any hassle.
Why Choose Irrigation System Installation?
If you’re thinking about getting an irrigation system installed, here are a few reasons why it’s a smart idea:
- Saves Time:With an automated system, you won’t need to manually water your plants anymore.
- Saves Water:A good system only uses the amount of water that your plants need, reducing waste.
- Healthier Plants:An irrigation system installation ensures that each plant gets the correct amount of water, which helps them grow better.
- Convenience:Set it and forget it! You can set timers and let the system take care of the watering for you.
Steps for Irrigation System Installation
1. Plan Your Irrigation System
The first step to a successful irrigation system installation is planning. Measure your yard and decide where you need water. Make a rough sketch to figure out the best spots for sprinklers or drip lines. Consider what areas of your yard need more water and plan accordingly.
2. Pick the Right Irrigation System
There are different types of irrigation systems to choose from:
- Sprinklers:Perfect for lawns and large areas.
- Drip Irrigation:Ideal for garden beds and plants that need targeted watering.
- Soaker Hoses:Great for flower beds or shrubs.
Choose the system that fits your yard’s needs best.
3. Gather Your Supplies
For a basic irrigation system installation, you will need:
- Pipes or hoses
- Sprinklers or drip emitters
- Pipe connectors
- A water timer (optional)
- A trenching shovel to bury the pipes
4. Install the Pipes and Sprinklers
Start by laying out the pipes or hoses according to your plan. Dig shallow trenches to keep them hidden under the soil. Attach the sprinklers or drip lines to the pipes and make sure all connections are secure.
5. Test the Irrigation System
Before burying the pipes, test the system by turning on the water. Check that all areas of your yard are getting the right amount of water and adjust if needed.
6. Cover the Pipes
Once you’re happy with the system, bury the pipes and cover them with soil. Your irrigation system installation is now complete!
Benefits of Hiring a Professional for Irrigation System Installation
If you’re unsure about doing the installation yourself, you can always hire a professional. Green Spaces Landscaping offers expert irrigation system installation services. A professional will make sure the system is installed correctly, saving you time and effort in the long run. Learn more about their services here.
Final Thoughts
It may seem like a big task, but by following the right steps, it’s manageable and well worth the effort. Your plants will stay healthy and hydrated, and you’ll save time and water. Whether you tackle it yourself or hire professionals, an irrigation system is the best way to keep your yard looking beautiful with minimal effort.
Ready to get started? Contact Green Spaces Landscaping for expert irrigation system installation today!


